
In this lesson we will create a test user for each membership level tag created in the previous lesson “Set up Membership Tags”. These instructions are based on the eight sample tags created earlier, so any alternative level tags will need their own corresponding csv file modeled after the one shown in this lesson. You may also create test users manually if preferred. This lesson is complete when every tag has at least one test user associated with it.
Two choices for creating test users:
Create Test Users with a CSV File
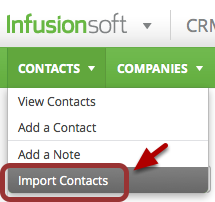
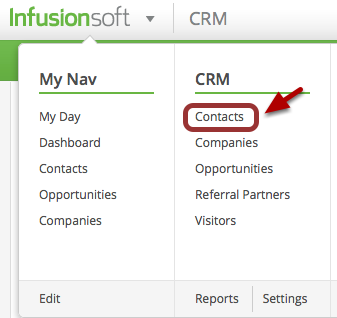
1. Hover over the Infusionsoft logo » CRM » Contacts

2. Click Import Contacts.
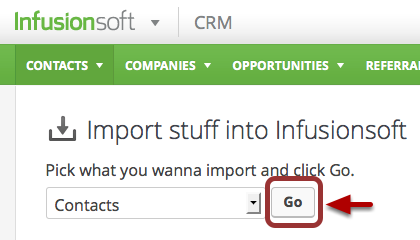
3. Click ‘Go’
4. Click Browse and locate the csv file you saved on your computer
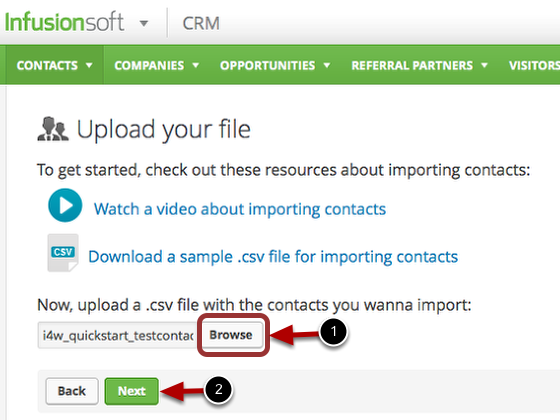
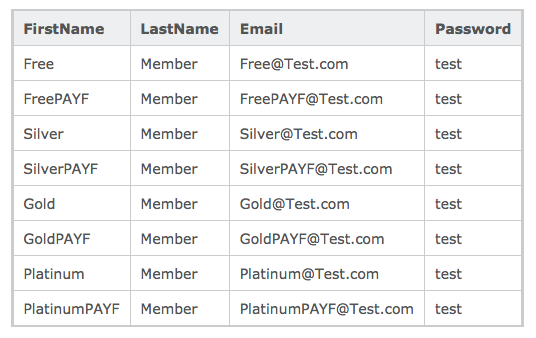
You may use your own csv file contact list or our sample csv file. Below is a model for how the csv file should be setup. You may change the level names to fit your preferences.
5. Match your fields to Infusionsoft fields and click Next

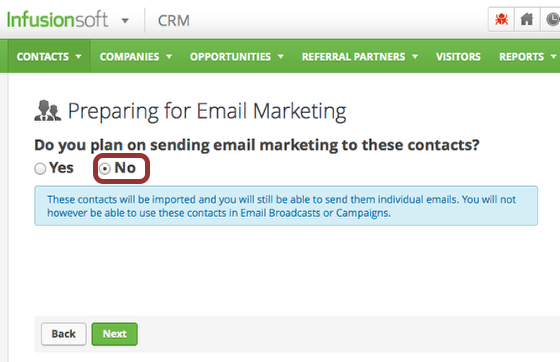
6. Select No because you will not need to send marketing to these test users.
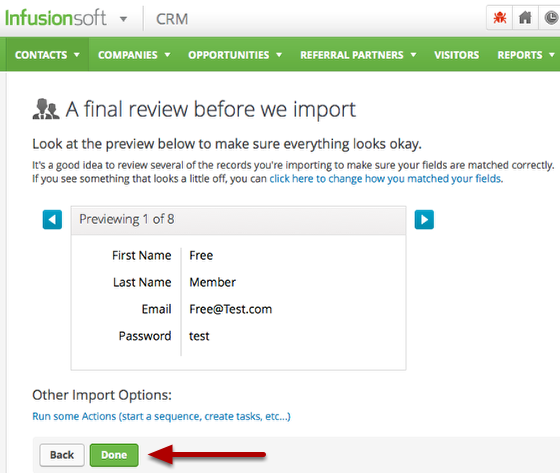
7. Review your contacts and click Done.
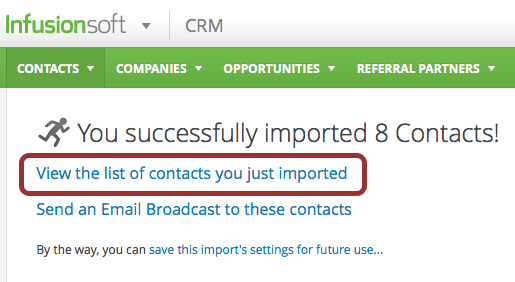
8. Select View the list of contacts you just imported.
9. Click the first contact name
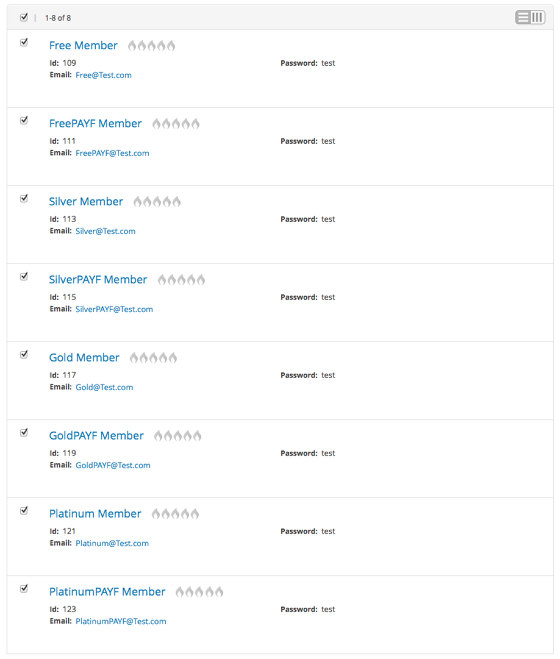
Your list may look different depending on how you have your columns set up.
10. Go to “Add tags to Test Users” or “Add Tags with Interactive List” for instructions on how to add tags to the test users created.
Create Test Users Manually
1. Hover over the Infusionsoft logo » CRM » Contacts
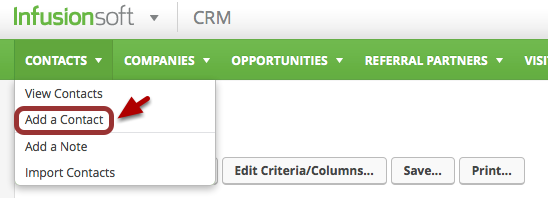
2. Click Add a Contact
3. Add the contact’s first name, last name, and email address
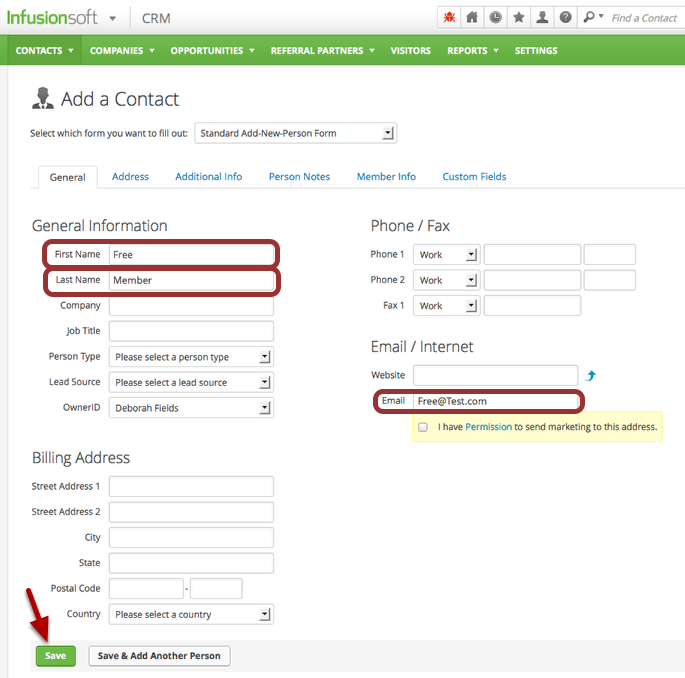
4. Click Save
5. Click the Additional Info tab in order to add a password
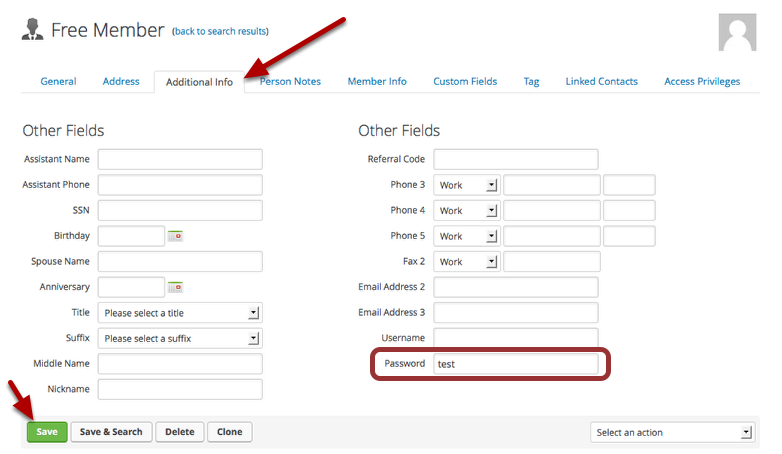
5. Type in a password and Click Save
6. Go to “Add tags to Test Users” or “Add Tags with Interactive List”for instructions on how to add tags to the test users created
Add Tags to Test Users
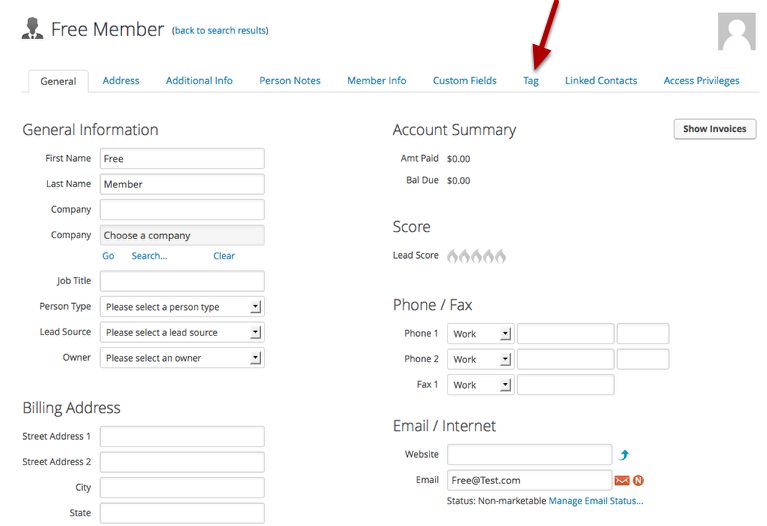
1. Click the Tag tab.
2. Select the correct Membership tag meant for this contact.
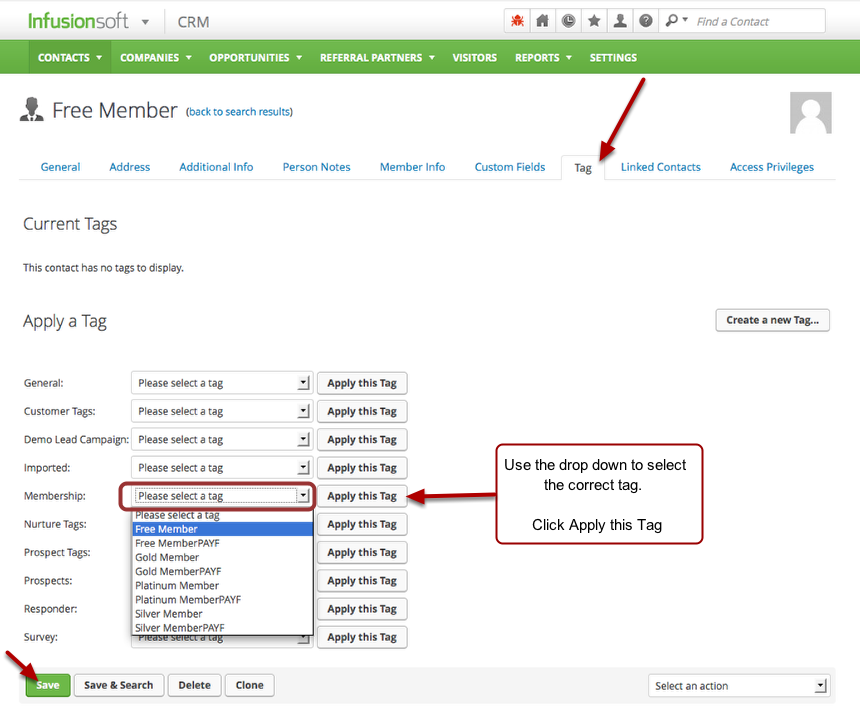
Example:
- Free Member contact gets Free Member tag
- Free MemberPAYF contact gets Free MemberPAYF tag
- Silver Member gets Silver Member tag
- Silver MemberPAYF gets Silver MemberPAYF tag
- Gold Member gets Gold Member tag
- Gold MemberPAYF gets Gold MemberPAYF tag and
- Platinum MemberPAYF gets Platinum MemberPAYF tag
3. Click Apply this Tag
4. Click Save & Search
5. Repeat steps 1-4 for each of the test users you created.
6. Go to lesson “Set up Product/Subscriptions” when completed.
Add Tags with the Interactive List
1. Select the interactive view icon

2. Click the Tag icon
3. Type in the correct Membership tag meant for this test user.
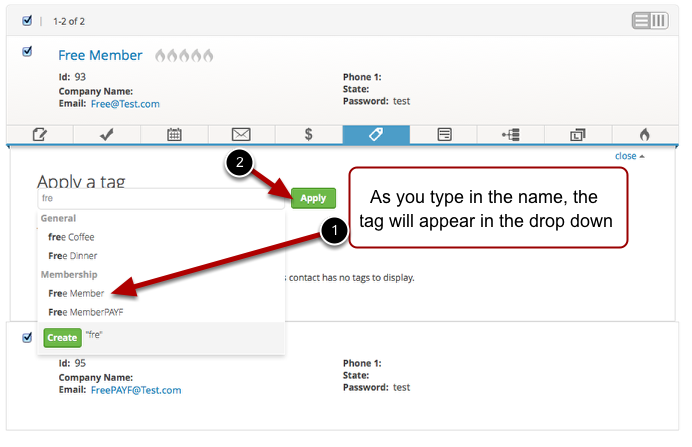
Example:
- Free Member contact gets Free Member tag
- Free MemberPAYF contact gets Free MemberPAYF tag
- Silver Member gets Silver Member tag
- Silver MemberPAYF gets Silver MemberPAYF tag
- Gold Member gets Gold Member tag
- Gold MemberPAYF gets Gold MemberPAYF tag and
- Platinum MemberPAYF gets Platinum MemberPAYF tag